How to Install a GC420d Printer on UPS WorldShip
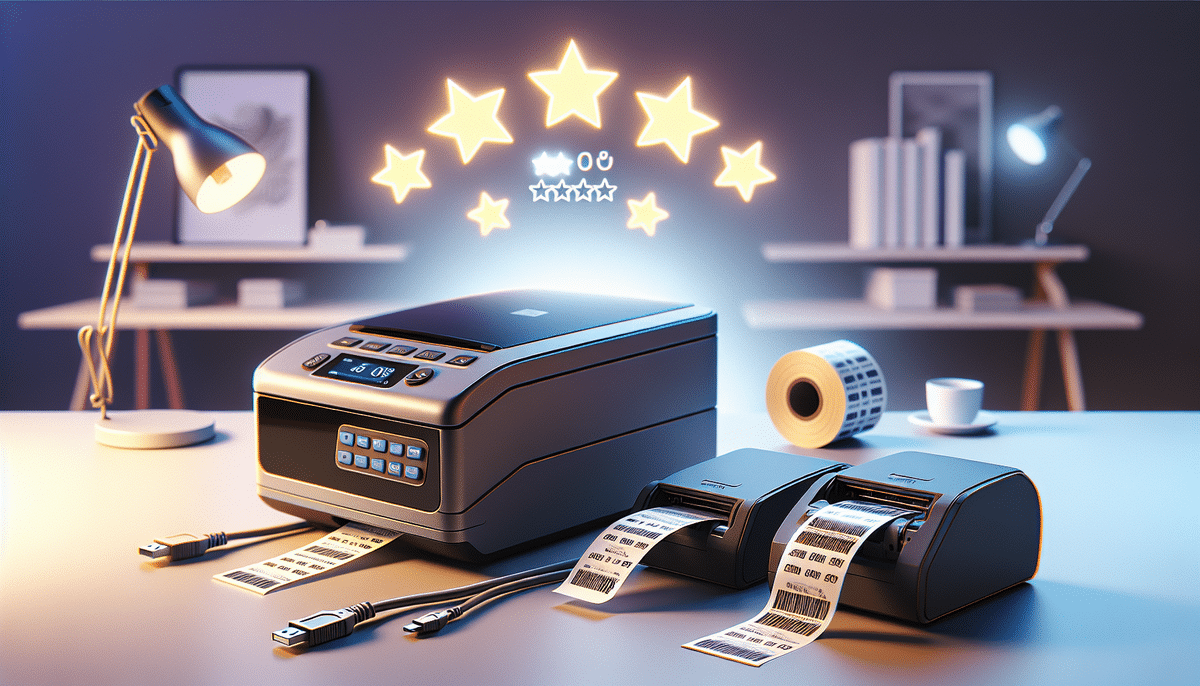
Streamlining your shipping process is crucial for business efficiency, and integrating a reliable label printer like the GC420d with UPS WorldShip can significantly enhance your operations. The GC420d's compact design and dependable performance ensure accurate and timely delivery, ultimately improving customer satisfaction.
Why You Need a GC420d Printer for UPS WorldShip
UPS WorldShip is an advanced shipping software that enables businesses to manage shipments from start to finish, including label printing, tracking, and reporting. To maximize the benefits of UPS WorldShip, a compatible printer like the GC420d is essential for producing high-quality labels swiftly and accurately.
High-Speed Printing
The GC420d printer boasts a printing speed of up to four inches per second, allowing you to print large batches of shipping labels efficiently. This speed is vital for businesses handling high-volume shipments daily, minimizing wait times and increasing productivity.
Reliability and Durability
Constructed with a sturdy metal frame, the GC420d is designed to withstand the demands of a busy shipping environment. Its reliable print mechanism ensures consistent performance without frequent downtimes or maintenance issues, making it a dependable choice for businesses of all sizes.
Understanding the GC420d Printer Features and Benefits
The GC420d is a thermal transfer printer, utilizing heat to transfer ink onto labels for clear and consistent prints. Its ease of use, combined with versatile connectivity options, makes it a top choice for integrating with UPS WorldShip.
Thermal Transfer Technology
Thermal transfer printing ensures that every label is legible and meets shipping standards. This technology is less susceptible to fading, ensuring that labels remain readable throughout the shipping process.
Connectivity Options
The GC420d offers multiple connectivity options, including USB, serial, parallel ports, and wireless connectivity. This flexibility allows seamless integration into existing systems, whether you're using a desktop setup or mobile devices.
Durability and Build Quality
Built to endure harsh environments, the GC420d features a robust metal construction and a reliable print mechanism. This durability translates to lower maintenance costs and longer printer lifespan.
Preparing Your Computer for GC420d Printer Installation
Before installing the GC420d printer with UPS WorldShip, ensure your computer meets the necessary requirements:
- System Requirements: Verify that your operating system is compatible with both UPS WorldShip and the GC420d printer.
- Available Ports: Confirm that you have an available USB port or other necessary connections for the printer.
- Latest Drivers: Download the most recent printer drivers from the manufacturer's official website to ensure compatibility and optimal performance.
Configuring Firewall and Antivirus Settings
To facilitate smooth communication between your computer and the printer, adjust firewall and antivirus settings as needed. This may involve adding the printer to the list of allowed devices or temporarily disabling certain security features during installation.
Checking for Compatibility Issues with UPS WorldShip Software
Ensuring that the GC420d printer is compatible with your version of UPS WorldShip is crucial. Refer to the latest UPS WorldShip Hardware Compatibility List to verify compatibility.
Updating Software and Drivers
If the GC420d is not listed as compatible, consider updating UPS WorldShip to the latest version or reaching out to UPS support for guidance. Additionally, ensure that all printer drivers are up to date to prevent installation conflicts.
Connecting the GC420d Printer to Your Computer and UPS WorldShip
Follow these steps to connect and configure your GC420d printer with UPS WorldShip:
- Connect the Printer: Use a USB cable to connect the GC420d to your computer, then plug in the power cord and turn on the printer.
- Launch UPS WorldShip: Open the UPS WorldShip application and navigate to the "Printer Setup" section.
- Select Your Printer: Choose the GC420d from the list of available printers and set it as the default printer for label printing.
- Configure Settings: Follow the on-screen instructions to customize print settings, such as label size and print quality.
If you encounter any issues during this process, refer to the GC420d printer manual or contact the manufacturer's customer support for assistance.
Installing the GC420d Printer Driver on Your Computer
Proper driver installation is key to ensuring seamless communication between your computer and the GC420d printer:
- Automatic Detection: Once connected, your computer may automatically detect the GC420d and prompt you to install the driver. Follow the on-screen instructions to complete the installation.
- Manual Installation: If automatic detection fails, visit the Zebra Technologies support page to download the appropriate driver for your operating system. Run the installation file and follow the prompts.
After installation, restart your computer to ensure the driver is properly integrated. Regularly check for driver updates to maintain optimal printer performance.
Configuring the GC420d Printer Settings for Optimal Performance
Fine-tuning your printer settings can enhance print quality and efficiency:
- Label Format: Select the correct label size and format within UPS WorldShip to match your printer's specifications.
- Print Quality: Adjust the darkness and speed settings to ensure clear and legible labels without unnecessary delays.
Regular maintenance is also essential:
- Cleaning: Use a soft, lint-free cloth to clean the printer's rollers and print head regularly, preventing dust and debris buildup.
- Firmware Updates: Keep the printer's firmware up to date by checking the manufacturer's website for the latest updates.
Troubleshooting Common Issues During Installation and Setup
Even with proper setup, you may encounter issues while installing or using the GC420d printer with UPS WorldShip. Here are some common problems and their solutions:
Printer Not Detected
Possible Causes:
- Incorrect USB port selection
- Faulty USB cable
Solutions:
- Ensure the printer is connected to the correct USB port.
- Try using a different USB cable to rule out cable defects.
Driver Installation Errors
Possible Causes:
- Outdated or incompatible drivers
- Conflicting software
Solutions:
- Download and install the latest drivers from the manufacturer's website.
- Disable conflicting software temporarily during installation.
Maintaining Your GC420d Printer: Tips and Best Practices
Proper maintenance ensures the longevity and reliable performance of your GC420d printer:
Regular Cleaning
Keep the printer clean to prevent dust and debris from affecting print quality:
- Wipe down the printer head, rollers, and sensors with a soft, lint-free cloth.
- Use a mild cleaning solution if necessary, avoiding harsh chemicals.
Use Quality Supplies
Always use high-quality labels and ribbons compatible with the GC420d to minimize jams and misprints.
Routine Maintenance Checks
Periodically inspect the printer for loose or worn parts, such as belts or gears, and replace them as needed. Ensure the printer operates in a clean, dry environment to prevent damage and interference.
How to Print Shipping Labels with Your New GC420d Printer
Once your GC420d printer is installed and configured, printing shipping labels is straightforward:
- Select the "Shipment" option within UPS WorldShip.
- Enter the necessary shipment information.
- Choose the "Print" option, and the GC420d will produce the label automatically.
The GC420d is also compatible with various shipping software solutions. If using alternative software, adjust the printer settings accordingly to ensure label accuracy. Refer to the specific software’s user manual or contact customer support for detailed instructions.
Using UPS WorldShip with Your GC420d Printer: A Step-by-Step Guide
To fully leverage the capabilities of UPS WorldShip with your GC420d printer, follow this comprehensive guide:
Step 1: Install UPS WorldShip
Ensure you have the latest version of UPS WorldShip installed. You can download it from the official UPS website.
Step 2: Configure Printer Settings
Within UPS WorldShip, navigate to the "Printer Setup" section and select your GC420d as the default printer. Adjust settings such as label size, orientation, and print quality to match your business needs.
Step 3: Create Shipping Profiles
Set up shipping profiles in UPS WorldShip to automate label printing based on shipment parameters. This enhances efficiency and reduces manual entry errors.
Step 4: Test Print
Perform a test print to verify that labels are printing correctly. Ensure that the alignment, print quality, and information on the labels meet your standards.
Step 5: Start Shipping
With everything configured, you can begin processing and printing shipping labels seamlessly. Monitor printer performance regularly to ensure ongoing reliability.
For more detailed instructions, refer to the UPS WorldShip documentation or contact UPS support for personalized assistance.
Conclusion
Integrating the GC420d printer with UPS WorldShip can significantly enhance your shipping operations by providing fast, reliable, and high-quality label printing. By following the steps outlined above and adhering to best practices for setup and maintenance, you can ensure a smooth and efficient shipping process that supports your business growth.


