Understanding UPS WorldShip Receipt Labels
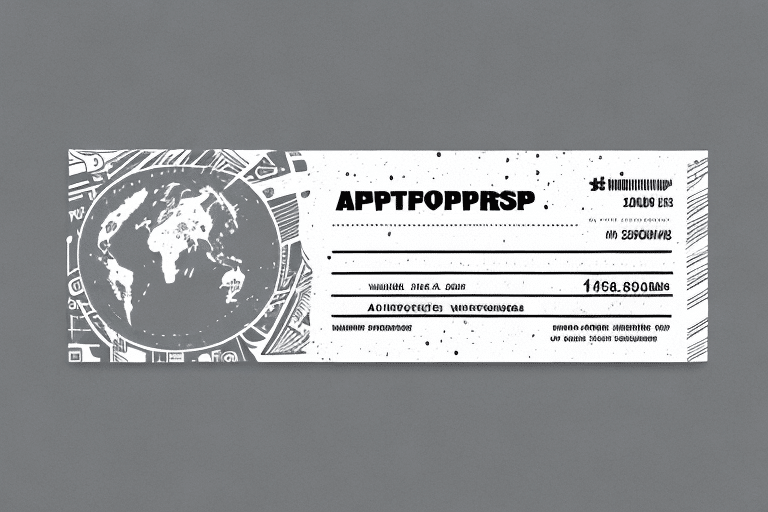
For businesses that handle frequent shipping, UPS WorldShip is an essential tool for streamlining operations. A fundamental feature of this software is the ability to create and print receipt labels, which serve as unique identifiers for each shipment. These labels contain vital information such as the shipping address, package weight, dimensions, and a tracking number, enabling efficient tracking and management of shipments.
Receipt labels not only facilitate tracking but also enhance the accuracy of shipments by minimizing errors in the shipping process. This precision is particularly crucial for businesses dealing with fragile or perishable items, where mistakes can lead to product damage or spoilage.
The Importance of Receipt Labels for Your Business
Creating receipt labels offers numerous benefits, including:
- Enhanced Tracking: Easily monitor the progress of packages to ensure timely deliveries.
- Accurate Billing: Maintain detailed records of shipments to prevent billing discrepancies.
- Improved Customer Satisfaction: Provide customers with clear and detailed receipt labels, fostering trust and reliability.
According to a 2023 Statista report, efficient shipping processes can significantly boost customer retention rates, emphasizing the importance of accurate and reliable receipt labels.
Setting Up UPS WorldShip: Downloading and Installation
Step-by-Step Installation Guide
- Visit the UPS WorldShip page.
- Click on the "Download WorldShip" button to obtain the software.
- Follow the on-screen instructions to install the software on your computer.
Ensure your system meets the minimum requirements, including a Windows operating system, at least 1GB of RAM, and a minimum of 2GB of free hard drive space.
Regularly updating the software is crucial for security and functionality. To check for updates, navigate to the "Help" menu within WorldShip and select "Check for Updates."
Configuring Shipping Preferences in UPS WorldShip
Setting Up Your Shipper Information
- Open UPS WorldShip and click on the "Shipper Editor" tab in the top menu.
- Select the "Add" button to input your shipping address and contact information.
- Navigate to the "Carrier" tab to set your carrier preferences.
- Under the "Service" tab, choose your preferred shipping methods.
Customizing your shipping labels with additional information, such as a company logo or personalized messages, can enhance your brand's professionalism. Access the "Label" tab in WorldShip to select from various label templates.
Regularly reviewing and updating your shipping preferences can lead to cost savings and more efficient shipping processes. Analyze your shipping history to identify opportunities for optimization.
Creating and Managing Shipments in UPS WorldShip
Initiating a New Shipment
- Click on the "Ship" tab within UPS WorldShip.
- Enter the recipient's address in the "Ship To" section.
- Fill in your shipping address in the "Ship From" section.
- Input package details, including weight and dimensions, in the "Package" section.
UPS WorldShip offers a variety of shipping options, including ground, air, and international services. Additional services such as insurance or signature confirmation can be added to shipments for enhanced security and assurance.
Review all shipment details carefully before finalizing. Accurate information ensures timely deliveries and reduces the risk of lost or misrouted packages.
Generating and Printing Shipping Labels and Tracking Numbers
Steps to Generate Labels
- After entering shipment details, click the "Process Shipment" button.
- Review the shipment information for accuracy.
- Print the shipping label and receipt label using a connected printer.
Affix the labels securely to your packages to ensure they are properly identified and tracked throughout the shipping process. Keeping a copy of the tracking number is advisable for record-keeping and monitoring purposes.
For best results, ensure your printer is properly set up, has sufficient label supplies, and that labels are correctly formatted before printing.
Troubleshooting Common Issues When Printing Receipt Labels
Encountering issues during label printing is common. Here are some solutions:
- Pop-Up Blockers: Disable any pop-up blockers on your computer or browser that may interfere with label generation.
- Printer Connectivity: Ensure your printer is correctly set up and connected to your computer.
- Driver Updates: Verify that your printer drivers are up-to-date to prevent compatibility issues.
For more detailed troubleshooting, refer to the UPS WorldShip troubleshooting guide.
Optimizing Your Shipping Process with UPS WorldShip
Efficiency Tips
- Double-Check Shipment Details: Ensure all information is accurate to avoid shipping errors.
- Utilize Shipper Editor: Save frequently used addresses and carrier preferences for quicker access.
- Group Shipments: Consolidate multiple shipments to reduce shipping costs.
- Automate Notifications: Set up automatic email notifications to keep both you and your customers informed about shipment progress.
Integrating UPS WorldShip with other business applications can further enhance efficiency. Consider integrating with CRM systems or accounting software to streamline billing, invoicing, and customer communication.
By implementing these strategies, businesses can optimize their shipping processes, reduce costs, and improve overall customer satisfaction.
Conclusion
UPS WorldShip is a powerful tool for businesses that manage frequent shipments. By understanding how to create and manage receipt labels, configuring shipping preferences, and troubleshooting common issues, businesses can enhance their shipping efficiency and accuracy. Incorporating best practices and optimizing shipping processes not only saves time and money but also fosters customer trust and satisfaction, ultimately contributing to business growth.