


How to Master Product Photography for Your Business
In the highly competitive world of e-commerce, having high-quality product photography is essential. Since customers cannot physically interact with your products, photography serves as the primary means to showcase them effectively. This article delves into everything you need to master product photography for your business, covering everything from selecting the right camera to editing your images for optimal impact.
Why High-Quality Product Photography Matters for Your Business
High-quality product photography plays a crucial role in your business for several reasons:
- Increased Sales: Clear and detailed images make customers more likely to purchase your products. According to a Shopify study, products with high-quality images can boost conversion rates by up to 30%.
- Reduced Returns: Detailed images help customers set accurate expectations, leading to fewer returns. A well-photographed product ensures customers know exactly what they're buying.
- Brand Recognition and Loyalty: Consistent, high-quality photography that aligns with your brand's aesthetic can create a memorable and recognizable brand identity, fostering customer loyalty.
Moreover, high-quality product photography enhances your website's SEO. Search engines favor websites that offer a superior user experience, which includes fast-loading, high-resolution images. By optimizing your product images with relevant keywords and descriptive alt tags, you can improve your site's visibility and attract more organic traffic, ultimately driving sales and revenue.
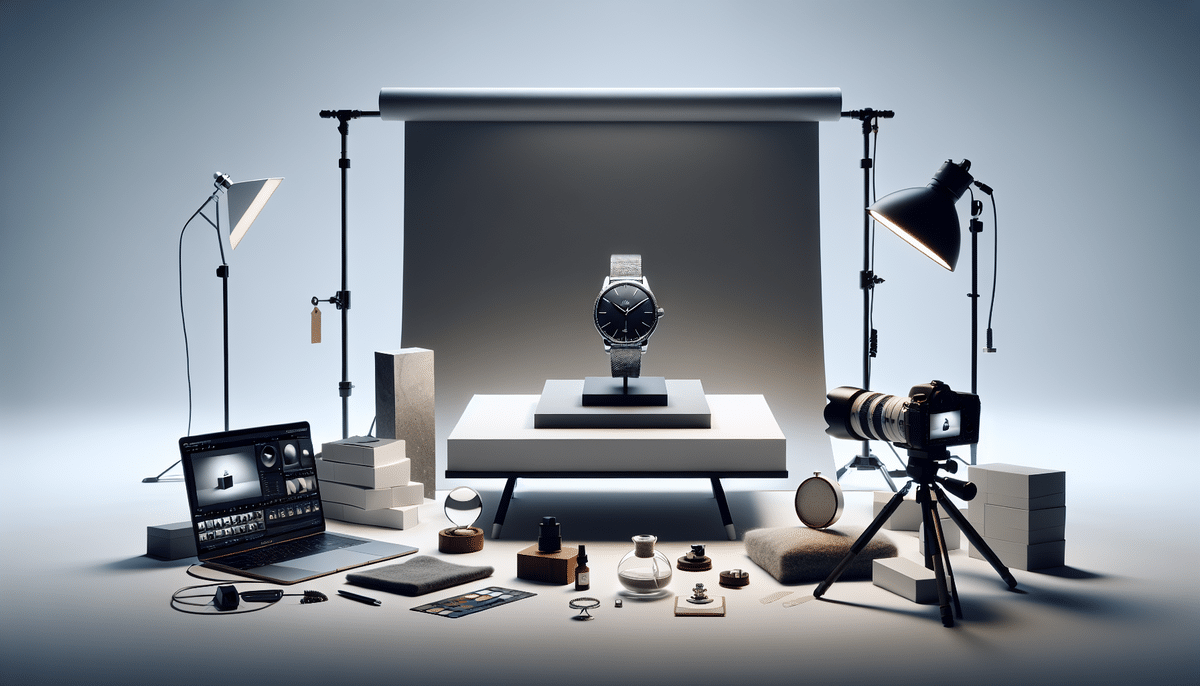
The Fundamentals of Product Photography
Lighting
Proper lighting is paramount. Aim for even lighting with minimal shadows. You can utilize natural light or artificial lighting based on your preference and the product's nature.
- Consider the color temperature of your light sources. Different lighting conditions can alter the product's appearance; for instance, natural light in the morning casts a warm glow, while midday light is cooler.
- Artificial lights, such as LEDs or fluorescents, can be adjusted to match the desired effect.
Composition
The arrangement of your subject can significantly impact the visual appeal. Techniques like the rule of thirds, symmetry, and leading lines can add depth and interest to your photos.
- Use the rule of thirds to create balanced and engaging compositions.
- Incorporate symmetry to enhance the aesthetic appeal of your product shots.
- Leading lines can guide the viewer’s eye towards the product, emphasizing its features.
Camera Settings
Adjusting settings such as aperture, shutter speed, and ISO allows for control over depth of field and motion blur, ensuring your product is captured in the best light.
- Aperture: Controls the depth of field. A wider aperture (lower f-number) creates a shallow depth of field, while a narrower aperture (higher f-number) keeps more of the product in focus.
- Shutter Speed: Determines how long the camera sensor is exposed to light. Faster shutter speeds can freeze motion, while slower speeds can create motion blur.
- ISO: Adjusts the camera's sensitivity to light. Lower ISO settings reduce noise, resulting in clearer images.
Choosing the Right Camera and Lens
Investing in the right camera equipment is vital for high-quality product photography. While smartphones offer decent cameras, a DSLR or mirrorless camera paired with quality lenses can significantly improve your images.
- Camera Body: Focus on image quality and low-light performance. Brands like Canon and Nikon offer reliable options that cater to various budgets.
- Lenses: The focal length is crucial; macro lenses are ideal for detailed shots, while standard lenses offer versatility. Aperture settings also matter—wider apertures (lower f-numbers) allow more light and create a shallow depth of field, highlighting specific product details.
Choosing the appropriate aperture based on your product type can enhance visual appeal. For instance, a narrower aperture (higher f-number) can keep the entire product in focus, beneficial for items like electronics that require showcasing multiple features.
DIY vs. Hiring a Professional Photographer
Pros and Cons of DIY Photography
- Pros: Cost-effective, full control over the process, flexibility in scheduling.
- Cons: Requires time to learn techniques, initial investment in equipment, potential for lower-quality results.
Pros and Cons of Hiring a Professional
- Pros: High-quality results, access to professional equipment and expertise, saves time.
- Cons: Higher upfront costs, less control over the creative process.
Long-term benefits of hiring a professional include consistent, high-quality images that enhance your brand and attract more customers. Professionals bring experience and specialized skills that can elevate your product presentation beyond what is typically achievable through DIY methods.
Preparing Your Products for a Photoshoot
Cleaning
Ensure products are spotless and free from defects. Even minor blemishes can detract from the overall image quality.
Styling and Props
Use props to add context and highlight product features. For instance, displaying a watch with a clock background or setting kitchenware on a kitchen island can provide lifestyle context.
Backgrounds
Choose surfaces and backgrounds that complement your product without overwhelming it. Different textures and colors can create unique looks tailored to your brand aesthetic.
- White backgrounds offer a clean, professional look that emphasizes the product without distractions.
- Colored backgrounds add vibrancy and can evoke specific emotions or align with branding colors.
- Textured backgrounds provide depth and context, making the image more engaging.
Best Practices for Product Photography Lighting
Natural Light vs. Artificial Light
- Natural Light:
- Pros: Soft, diffused light creates appealing shadows and highlights; cost-effective.
- Cons: Unpredictable and dependent on weather and time of day; less control over lighting consistency.
- Artificial Light:
- Pros: Greater control over lighting conditions; consistent results regardless of weather.
- Cons: Can be costly; requires knowledge of lighting techniques and equipment setup.
When using natural light, optimal times are early morning or late afternoon when the light is softer and warmer. For artificial lighting, investing in quality studio lights and accessories like diffusers and reflectors can help achieve a professional look.
Optimizing Product Images for Online Sales
Size and Resolution
- Size: Ensure images are appropriately sized for your platform to prevent slow loading times.
- Resolution: High-resolution images provide clarity, but excessively large files can hinder website performance. Aim for a resolution that maintains quality without compromising load speed.
File Types
- JPEG: Ideal for photographs due to smaller file sizes with acceptable quality.
- PNG: Best for images requiring transparency or when higher quality is needed.
Using tools like Image Compressor can help reduce file sizes without significant quality loss.
SEO Optimization
Optimize your product images with relevant keywords in file names and descriptive alt tags. This not only improves SEO but also enhances accessibility for users relying on screen readers.
Editing and Retouching Your Product Photos
Post-processing can elevate your product photos from good to exceptional:
- Software: Tools like Adobe Photoshop and Lightroom offer extensive editing capabilities.
- Techniques:
- Cropping: Focus on the product by adjusting the frame.
- Color Correction: Ensure colors are true to life and consistent across all images.
- Retouching: Remove any blemishes or distractions to present a flawless product.
Effective editing enhances the clarity and appeal of your products, making them more attractive to potential customers.
Creating a Consistent Look and Brand Identity
Consistency across all product images strengthens brand identity and recognition:
- Lighting: Maintain consistent lighting setups to ensure uniformity.
- Composition: Use similar angles and framing for all products.
- Styling: Incorporate brand-specific props and backgrounds that align with your overall aesthetic.
Consistent imagery fosters a professional appearance and makes your brand more memorable to customers.
Leveraging Social Media to Showcase Your Products
- Utilize high-quality images, stories, and reels to engage with followers.
- Incorporate relevant hashtags to increase visibility.
- Create visually appealing pins that link back to your product pages.
- Pinterest users often search for inspiration, making it ideal for driving traffic.
- Leverage Facebook Shops and targeted ads to reach a broader audience.
- Engage with customers through comments and messages.
Incorporate elements like branding, lifestyle shots, and user-generated content to create a compelling and authentic social media presence.
Case Studies: Successful E-commerce Brands That Mastered Product Photography
Studying successful brands can provide valuable insights into effective product photography:
- Apple: Known for minimalist and clean product images that highlight design and features.
- Warby Parker: Combines product images with lifestyle settings to showcase how products fit into daily life.
- Glossier: Utilizes soft lighting and cohesive color schemes to create a distinctive and appealing brand image.
These brands demonstrate how strategic product photography can enhance brand identity and drive e-commerce success.
Conclusion
Mastering product photography requires attention to detail, patience, and a willingness to learn and adapt. The benefits—such as increased sales, reduced returns, and enhanced brand recognition—make this investment worthwhile. By implementing the strategies and tips outlined in this article, you'll be well-equipped to create high-quality product images that effectively showcase your products and resonate with your target audience.


