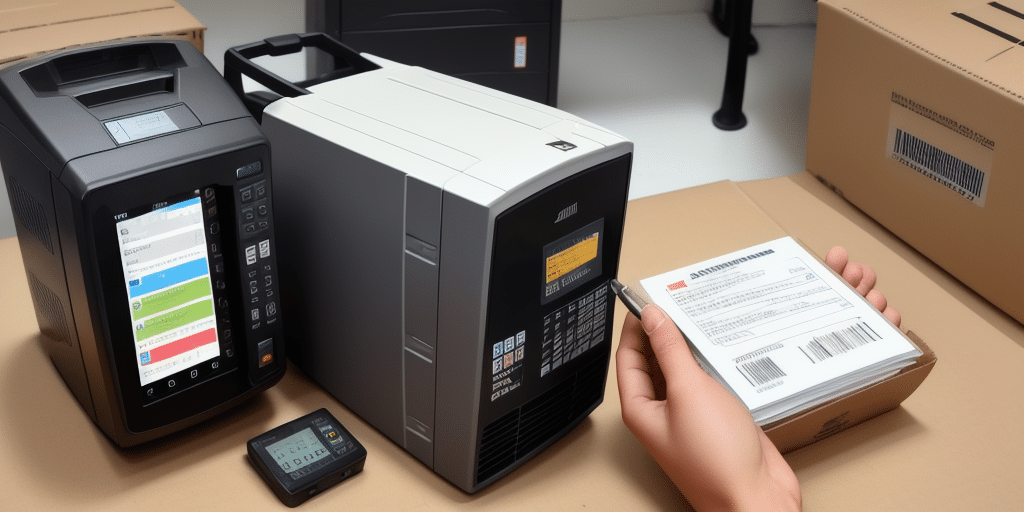
Introduction to Using UPS WorldShip with Zebra Printers on Windows 10
If your business regularly ships products, integrating UPS WorldShip with Zebra Printers on Windows 10 can enhance efficiency, accuracy, and speed in your shipping operations. This guide provides a comprehensive overview of setting up and configuring Zebra Printers with UPS WorldShip, troubleshooting common issues, optimizing printing settings, and maintaining printer performance to streamline your shipping process.
Installing Zebra Printers on Windows 10
Begin by installing the latest Zebra Printer drivers compatible with Windows 10 to ensure optimal performance. Drivers can be downloaded directly from the Zebra website. Follow these steps:
- Download the appropriate driver for your Zebra Printer model.
- Double-click the installer file to initiate the installation process.
- Follow the on-screen prompts to complete the installation.
- Connect the Zebra Printer to your Windows 10 device via USB or network connection.
Once installed, verify the printer connection:
- Open the Control Panel and select Devices and Printers.
- Locate your Zebra Printer, right-click on it, and select Printer Properties.
- Navigate to the Advanced tab to adjust settings such as print quality, paper size, and print speed. Proper configuration ensures optimal printing performance.
Setting up UPS WorldShip on Windows 10
UPS WorldShip is a powerful shipping software designed to automate and improve your shipping processes. To set it up on Windows 10:
- Visit the UPS WorldShip website to download the latest version.
- Run the installer by double-clicking the downloaded file.
- Follow the installation prompts, entering your UPS account information when prompted.
- Complete the setup wizard to configure your preferences and shipping settings.
Before installation, ensure your system meets the minimum system requirements for UPS WorldShip, which include:
- A 2.0 GHz or faster processor
- Minimum of 4 GB RAM
- Screen resolution of 1024 x 768 or higher
- Reliable internet connection
Integrating Zebra Printers with UPS WorldShip
Once both Zebra Printer drivers and UPS WorldShip are installed, integrate the printer with the software:
- Open UPS WorldShip and navigate to Edit > Printer Setup.
- Select your Zebra Printer from the Printer Type drop-down menu.
- Click on Print Properties and verify the printer settings such as label size, print quality, and speed.
- Save the settings to establish the connection between UPS WorldShip and your Zebra Printer.
Regularly updating the Zebra Printer drivers and UPS WorldShip ensures continued compatibility and performance. Visit the Zebra support page and UPS WorldShip updates for the latest software versions.
Troubleshooting Common Installation Issues
During installation or integration, you may encounter issues such as connection errors, print quality problems, or software crashes. To troubleshoot:
- Reinstall Drivers and Software: Uninstall existing Zebra Printer drivers and UPS WorldShip, then reinstall them to fix corrupted installations.
- Update Windows: Ensure your Windows 10 device is updated to the latest version via Settings > Update & Security > Windows Update.
- Check System Requirements: Verify that your device meets the necessary specifications for both the printer drivers and UPS WorldShip.
- Verify Connections: Ensure all cables are securely connected and the printer is powered on.
- Restart Devices: Sometimes, simply restarting your computer and printer can resolve connectivity issues.
If problems persist, contact Zebra Support or UPS Support for further assistance.
Optimizing Label Printing with UPS WorldShip and Zebra Printers
Maximize efficiency in printing shipping labels by configuring label printing options:
- Customize Label Formats: In UPS WorldShip, navigate to Printer Setup > Label Format to modify label layouts, font sizes, and included information such as company logos or barcodes.
- Create Label Templates: Save frequently used label formats as templates to expedite the label creation process for recurring shipments.
- Batch Printing: Utilize UPS WorldShip’s batch printing feature to print multiple labels simultaneously, reducing time spent on individual label prints.
- Print Preview: Use the print preview function to verify label layouts and data accuracy before printing, minimizing errors.
Additionally, ensure that your Zebra Printer settings are optimized for high-volume printing:
- Enable Fast Print Mode to speed up the printing process.
- Regularly perform Print Head Cleaning to maintain print quality.
Maintaining Printer and Software Performance
To ensure continuous, reliable operation of your Zebra Printer and UPS WorldShip software:
- Update Drivers and Software: Keep both the Zebra Printer drivers and UPS WorldShip updated to the latest versions.
- Regular Cleaning: Clean your Zebra Printer regularly to prevent dust buildup and mechanical issues.
- Use Quality Supplies: Use high-quality labels and ribbons compatible with Zebra Printers to ensure clear, durable prints.
- Monitor System Resources: Ensure your Windows 10 device has adequate resources (RAM, storage) to run UPS WorldShip efficiently.
- Backup Configurations: Regularly back up UPS WorldShip configurations and label templates to prevent data loss.
By adhering to these maintenance practices, you can prolong the lifespan of your equipment and minimize disruptions to your shipping operations.
Conclusion
Integrating UPS WorldShip with Zebra Printers on Windows 10 is a strategic approach to enhance your business’s shipping efficiency and accuracy. By carefully installing and configuring both the printer drivers and UPS WorldShip software, troubleshooting promptly, optimizing label printing settings, and maintaining system performance, you can streamline your shipping process and focus on growing your business. For additional support, refer to the official Zebra Support or UPS Customer Support.


